I love enjoying warm summer nights with a bubbly stone fruit crisp with a heaping scoop of creamy vanilla ice cream! This easy fruit crisp is the perfect way to use the ripe berries and/or juicy stone fruit you have on hand. I’ve experimented with quite a few different types of toppings and I have to say, this one might be my favorite. It’s swirled with notes of brown butter, and sweetened with maple syrup and a touch of brown sugar. Make this ahead of time for an al fresco dinner party - stick it in the oven right as you’re finishing dinner and trust me, your dinner guests will impressed.

I saw peaches and plums at the farmers’ market and had to jump on it. I love eating summer foods.. from sweet tomatoes to crisp herbs to luscious peaches, I want it ALL. I couldn’t resist. I’ve used peaches in arugula salads with grilled steak, topped my yogurt granola bowls with them and now am baking with them as much as possible. My go-to is a berry crisp but adding peaches and these extra juicy plums added such great texture and flavor, try it!

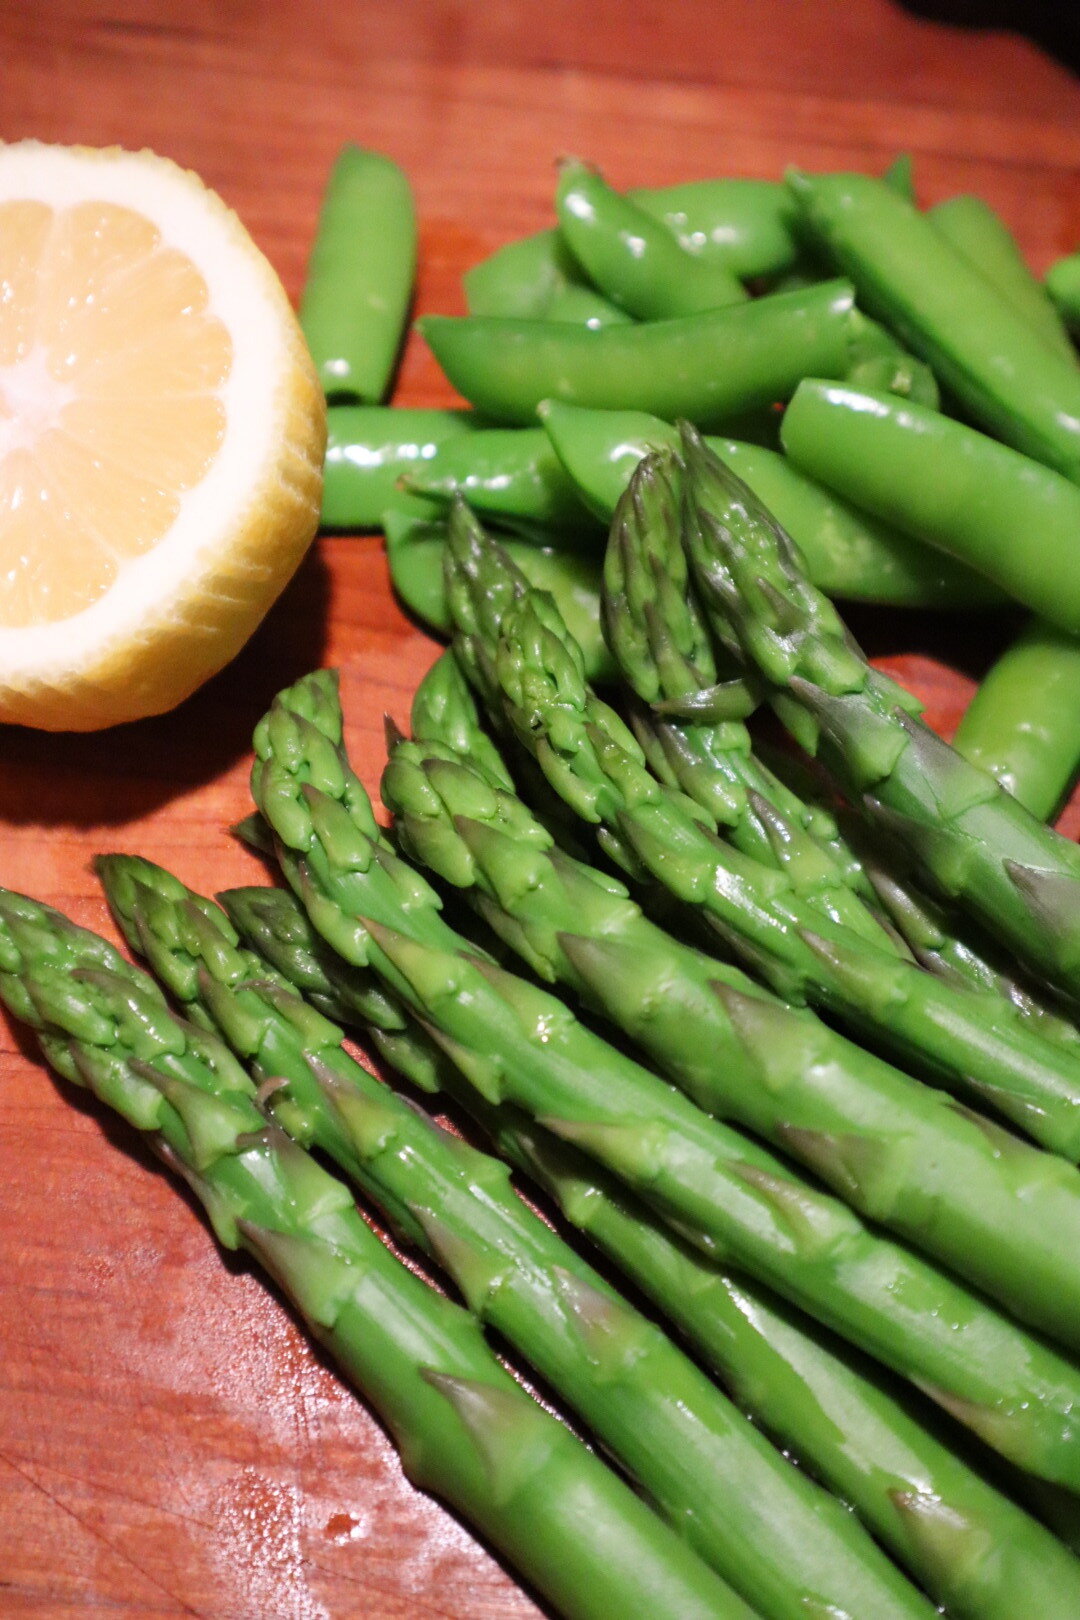
This process is super simple. Start with the fruit tossed together with brown sugar and vanilla. In the past, I’ve added some acidity like a pixie orange or Meyer lemon but I wanted to keep this one extra sweet and rich so I used vanilla only.
Then add a touch of cornstarch to make the thick and juicy sauce. I’ve used flour in the past which works, but I like the texture of the cornstarch better.
When the peaches bake down and the blackberries are roasted it creates the most incredible almost caramel-like sauce!
The crisp topping for me is KEY. I like it chewy but still crispy, not soggy. You’ll use flour, oats, cinnamon, brown sugar and the secret is some brown butter. Sprinkle the crumble over the fruit, bake and then about an hour later you’ll have the most perfect crisp. It’s like a crisp brown sugar cookie and I can’t get enough of it.


INGREDIENTS
- 4-5 peaches, sliced
- 3 cups fresh blackberries
- 1/2 cup brown sugar
- 1 tablespoon + 1-2 teaspoons cornstarch
- 1 tablespoon vanilla extract
TOPPING
- 1 cup all purpose organic flour
- 1/2 cup old fashioned oats
- 1/2 brown sugar
- 1 teaspoon cinnamon
- 12 tablespoons cold salted grass-fed butter
- 4 tablespoons maple syrup
INSTRUCTIONS
1. Preheat the oven to 350 degrees
2. Mix together peaches, blackberries, brown sugar, cornstarch, and vanilla. Spread the fruit out into a 10-12 inch baking dish or cast iron skillet
3. For the topping, combine the oats, flour, brown sugar, 1/2 teaspoon cinnamon, and salt in a medium bowl. Then add 8 tablespoons of cold butter into the dry ingredients and mix with your hands (or use fork). Sprinkle over the fruit. Cover with foil and bake for 30 minutes.
4. While it’s baking, add 4 tablespoons of butter to a small pot and set over medium heat. Let the butter to brown lightly until it smells toasted, about 3-4 minutes. Remove from the heat and whisk in the maple syrup, 1/2 teaspoon cinnamon, and a pinch of salt. Remove the crisp from the oven and drizzle the maple butter over the crisp then bake for another 30 minutes uncovered.
5. Slightly cool then serve with vanilla ice cream!